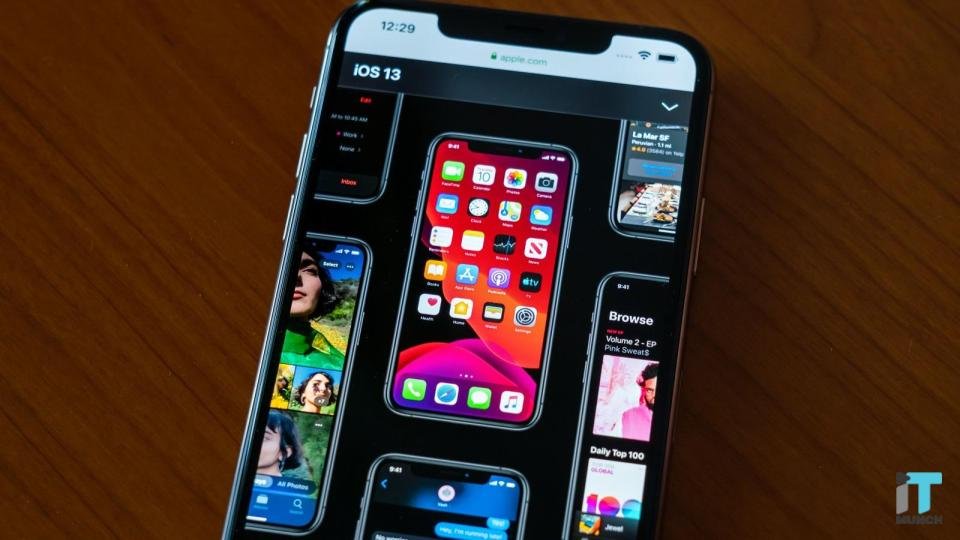
Apple has issued iOS 13.2 and iPadOS 13.2 for the iPhone and iPad.
This update highlights the general bug fixes and safety improvements.
But Apple is also combining a handful of innovations to its operating system.
Apple Brings Innovations to the Table
First, iOS 13.2 brings in loads of new emojis. The company now formally supports Unicode 12.0.
You can now generate all possible sequences of handholding-couple emojis despite gender or skin tone.
There are different accessibility-focused emojis, such as a service dog, people utilizing wheelchairs, prosthetic arms and legs, a person with a white stick, and much more.
There additionally are unique animals, a yawning face, and new food choices.
If you own an iPhone 11 or iPhone 11 Pro, iOS 13.2, it enables Deep Fusion.
It is an image-processing feature that will make your photos look great thanks to machine learning-enabled processing.
It is also worth noticing that you can now adjust the resolution and frame rate of your videos in the Camera app instantly.
With iOS 13.2, you can opt-out of giving Siri recordings with Apple workers and remove your Siri and dictation history.
You need to go to Settings > Privacy > Analytics and Improvements to opt-out at any point.
Lastly, iOS 13.2 permits HomeKit Secure Video for HomeKit-enabled cameras and adds help for the newly launched AirPods Pro.

Steps To Use New Updates
Before you update to iOS 13.2, make sure to back up your device.
Make sure that your iCloud backup is up to date by opening the Settings app on your iPhone or iPad and clicking on your account data at the top and then on your device name.
Moreover, you can also plug your iOS device into your computer to initiate a manual backup in iTunes.
Do not forget to encrypt your backup in iTunes as encrypted backups incorporate saved passwords and health data.
This way, you do not have to reconnect to all your online accounts.
Once this is done, you should move to Settings as soon as possible to get in the line.
Navigate to ‘Settings,’ next ‘General’ and then ‘Software Update.’
Then you would view ‘Update Requested, then it will automatically start downloading once the download is ready.
SEE ALSO: Twitter comes back to the Mac
For more updates and the latest tech news, keep reading iTMunch.


