How to Create Stunning Quotes Using Canva: A Beginner’s Guide for 2025
Table of Contents
Introduction
Canva has revolutionized the world of design, offering easy-to-use tools for creating beautiful, professional-looking graphics. Whether you’re a social media manager, a content creator, or simply someone who loves sharing inspirational quotes, Canva is the perfect platform to bring your ideas to life. In this tutorial, we’ll walk you through the process of creating eye-catching quotes using Canva, step-by-step. Let’s dive into this beginner-friendly guide!
Why Use Canva for Creating Quotes?
Canva is an ideal tool for creating quotes for several reasons:
- User-Friendly: Canva’s drag-and-drop interface makes it easy for beginners to design graphics without needing advanced skills.
- Customization: With thousands of templates, fonts, and design elements, you can fully customize your quote designs.
- Affordable: Canva offers a free plan with access to a wide range of tools, with premium options available for more advanced features.
- Versatile Output: Once you’ve designed your quote, you can download it in various formats (PNG, JPEG, PDF) or directly share it on social media.
Now that you know why Canva is perfect for creating quotes, let’s explore how to use it.
Step 1: Sign Up and Log In
If you don’t already have a Canva account, go to Canva and sign up for free. Once you’re logged in, you’ll be ready to create your quote designs.
Step 2: Choose Your Design Dimensions
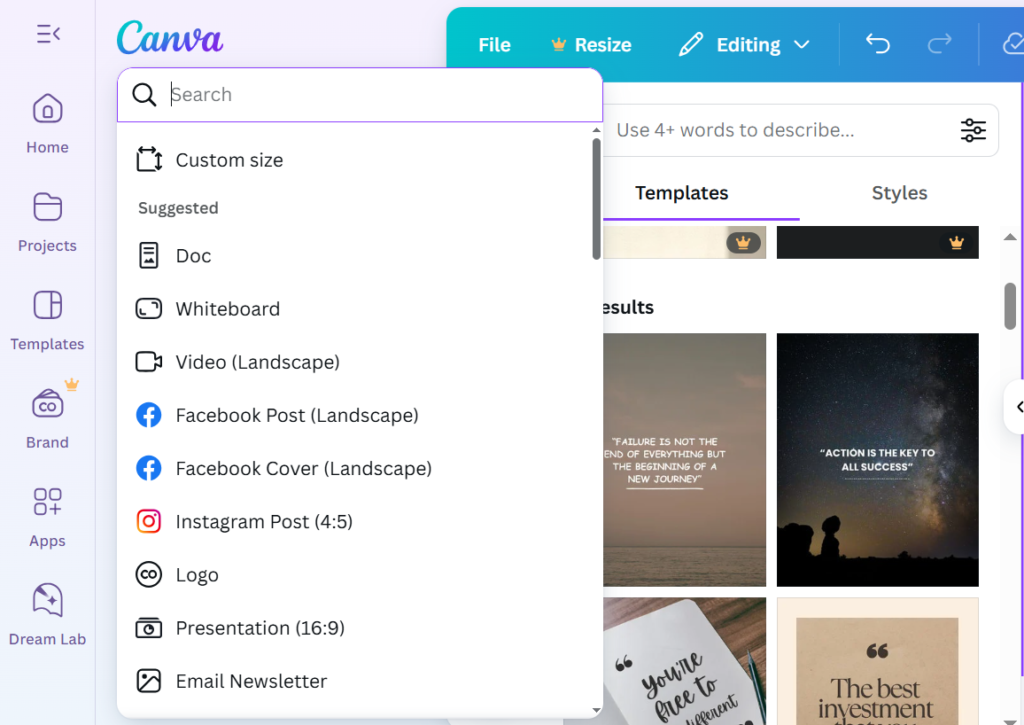
Canva provides templates in various sizes, depending on your design needs. If you’re creating a social media quote post, here’s what you can choose:
- Instagram Post: 1080px x 1080px (perfect for square posts)
- Facebook Post: 1200px x 630px
- Pinterest Pin: 1000px x 1500px
For other purposes, such as creating a poster or a printable quote, you can adjust the dimensions to fit your project. Start by searching for a “Quote” template or selecting the Custom Dimensions option to create a personalized canvas.
Step 3: Select a Template or Start from Scratch
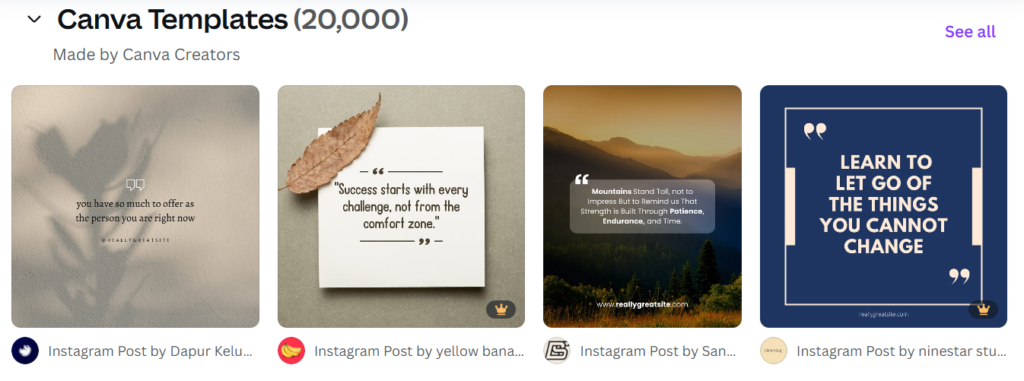
Once you’ve chosen the right dimensions, Canva gives you two options:
- Start with a Template: Canva offers a wide range of pre-designed quote templates. Simply type “quote” into the search bar, and you’ll find dozens of free and premium templates to choose from. Browse through the options, and select one that aligns with the message you want to convey.
- Create from Scratch: If you prefer a blank slate, you can design your quote from scratch. Select the “Text” tool to add your quote, and start building your layout using the design elements Canva offers.
Step 4: Add Your Quote Text
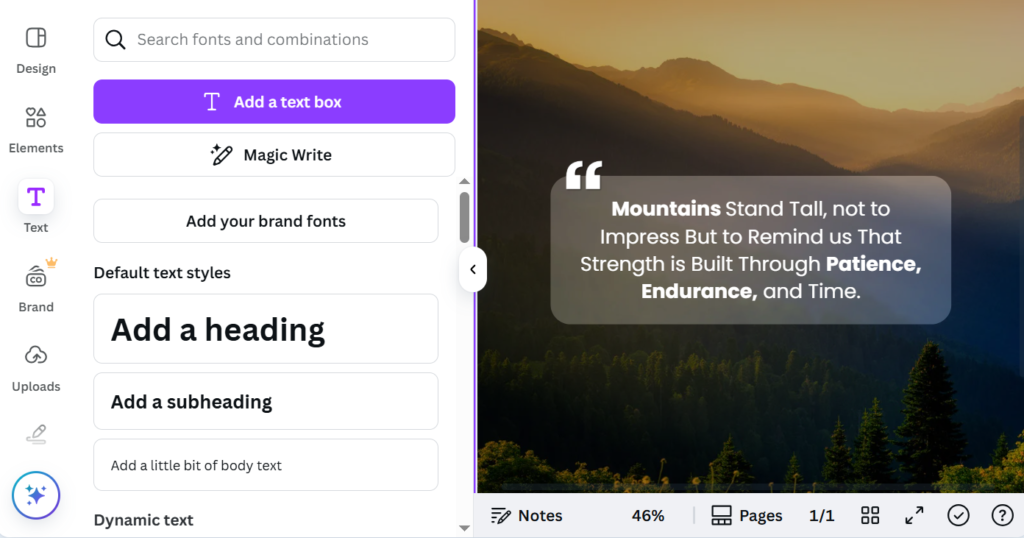
This is where the magic happens. If you’re using a template, the text will already be in place. If not, follow these steps:
- Click on the Text Tool: On the left sidebar, click on the Text tool. You’ll find three main text options:
- Add a heading (for larger text)
- Add a subheading (for medium-sized text)
- Add a little bit of body text (for smaller text)
- Enter Your Quote: Once you’ve selected your text box, type in the quote you want to feature. For example, “The best way to predict the future is to create it.” – Abraham Lincoln.
- Customize the Font: Select the text and choose a font from the font options in the toolbar. Canva has a huge selection of fonts that can suit any style, from elegant cursive to bold sans-serif fonts.
Step 5: Customize Your Design
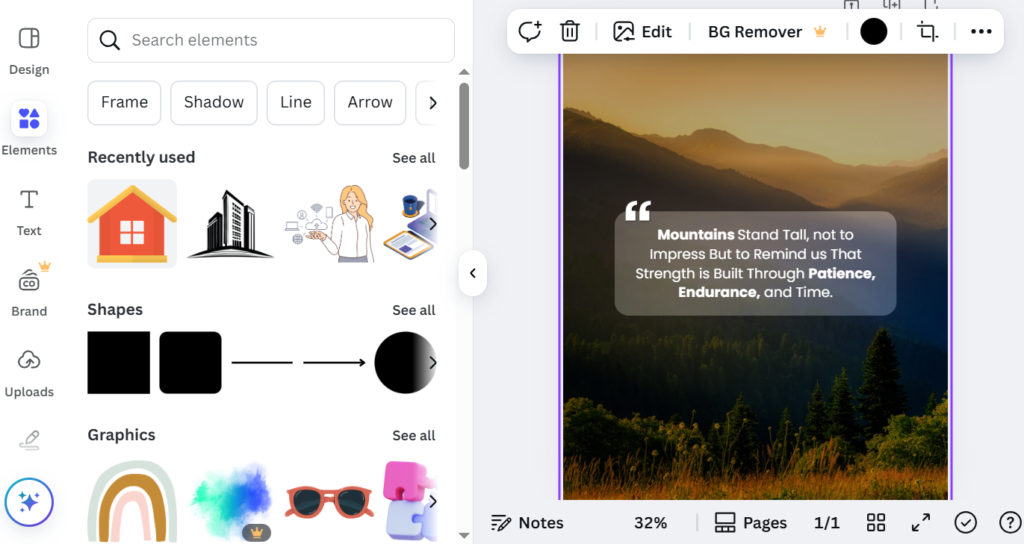
After adding your quote, it’s time to make the design uniquely yours. Here’s how:
- Change Font Color: Select the text, and click on the Text Color option in the top toolbar to pick a color that complements your design. If you’re making an inspirational quote, consider using a color palette that evokes emotion, like soft pastels for calmness or bold colors for motivation.
- Adjust Font Size: Make sure your quote is easily readable. Increase or decrease the font size depending on the amount of text and the visual effect you want to create.
- Play with Alignment: Center your text, left-align it, or experiment with right-aligning to see which positioning works best with your design.
- Add Background Elements: Canva offers millions of free photos, icons, and shapes that can be used as background elements. Go to the Photos tab to find stunning backgrounds, or use shapes like rectangles and circles to highlight your quote.
- Use Elements to Enhance the Design: Add flourishes like icons, lines, and illustrations to enhance your design. For example, place a small flower or star next to the quote to give it a unique touch.
Step 6: Final Adjustments and Effects

Canva offers various effects to make your quote stand out even more:
- Text Effects: Add text effects such as shadow, lift, or neon for a fun and trendy look.
- Transparency: Adjust the transparency of your text or background to achieve a softer, more sophisticated design.
Once you’re satisfied with your design, give it one last check to ensure everything aligns and looks cohesive.
Step 7: Download and Share Your Quote

When you’re happy with your design, it’s time to download and share your quote:
- Download Your Design: Click on the Download button at the top right of the screen. You can choose the file type (PNG, JPEG, PDF) depending on how you plan to use your quote.
- Share on Social Media: If you’re creating a quote for social media, you can also directly share it from Canva. Simply click the Share button and choose your platform (Instagram, Facebook, Twitter, etc.).
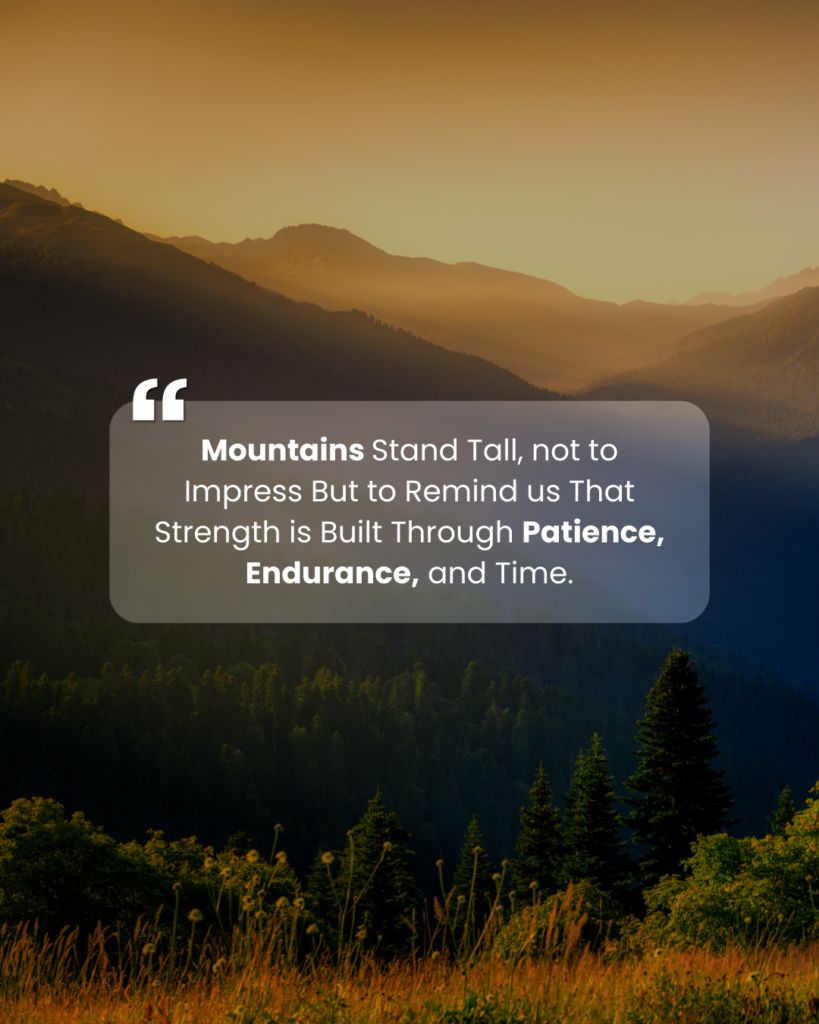
Conclusion: Start Creating Inspiring Quotes Today
Canva makes it simple for anyone, even beginners, to create stunning quote designs. By following this beginner-friendly tutorial, you can design beautiful quotes for your social media, blog, or personal projects. With endless customization options and easy-to-use tools, the possibilities are endless. Start creating your inspiring quotes today and share them with the world!
You May Also Like: How to Use Adobe Express: The Ultimate Tool for Easy, Professional Design

